 Those who’ve been following our rehabs know that when we are working with an older, more vintage home, we often place (or replace) a stained glass window where it once was…or where we think it adds to the ambiance of the home.
This vintage glass was installed (in an earlier rehab) to replace a jalousie window on a stairway which was not original to that house
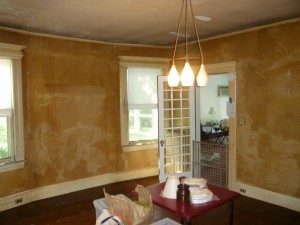
This next shot shows a Glen Ridge Dining Room “before” in another previous GreenRose Fine Homes renovation. If you look closely you can see the outline of what had been the location of a (typically) stained glass window, long covered over in a previous renovation.
Look closely towards the top of the far wall between the two double hung windows and you can see the outline of the original horizontal window, which had been covered over.
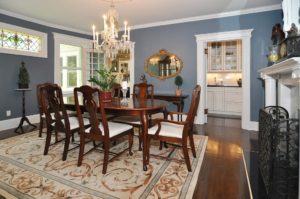
We tore out the dry-wall and indeed found an original window frame. Alas, since the original window was gone, we inserted a replacement to bring back some period charm to the dining room.
The antique stained glass added charm and value to this historic house.
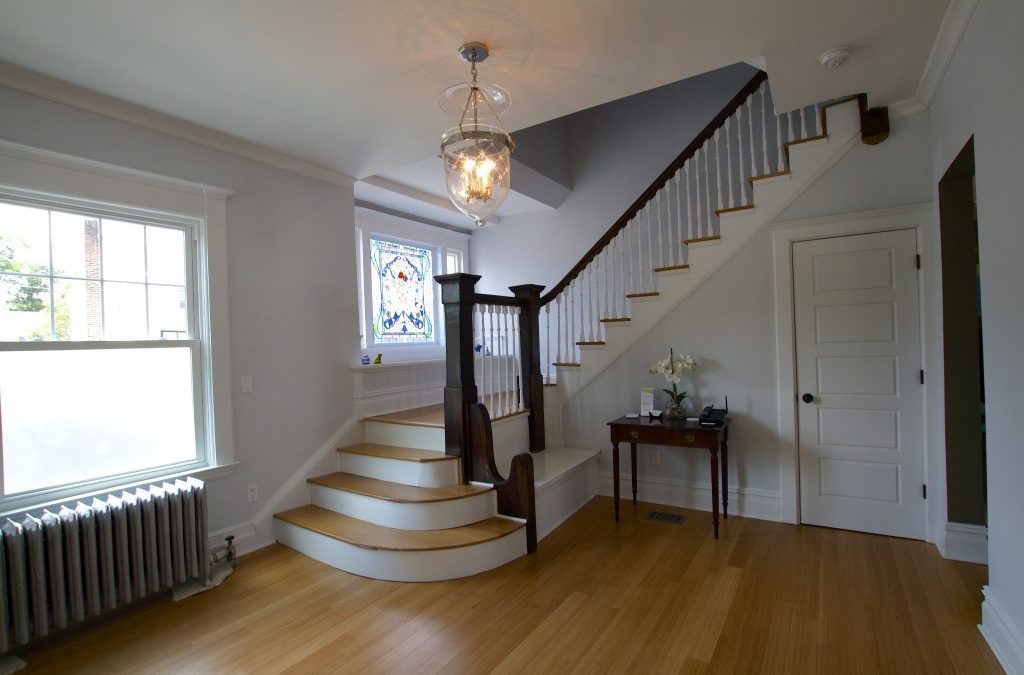
Similarly in our most recent renovation of a historic house in Glen Ridge, NJ, we decided to install stained glass not only to improve the ambiance, but also for a more practical reason as well.
Previously it had been a large single pane of glass, at the landing overlooking the backs of several neighbor’s garages, so when you came up (or down) the long stairway you looked out on a view that really wasn’t great.
Here you see the window before we replaced it with stained glass (unfortunately it is a bit over exposed so you can’t see the ‘not so nice’ view).
This was the view coming down the stairs to the first floor in the original house
With stained glass in mind (and window measurement in hand) we headed to our favorite stained glass restorer down at the Jersey Shore. Remember we had to find something which if not an exact fit….was close.
Eureka! There was in fact an original (late 1800’s) stained glass piece in the shop and the owner/artisan assured us he could “build out” the original glass with new glass to a frame size that would fit exactly in the existing window space.
Once it was ready, we painted out the interior of the original window frame with several coats of semi gloss white….and thoroughly cleaned the inside of the existing pane of glass, before sealing in the new stained glass (inside the original single pane of glass). This way the original clear pane acts as a permanent storm window, not only energy efficient but also protecting the stained glass from the outside.
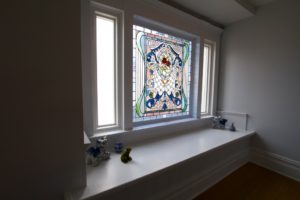
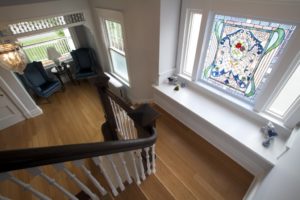
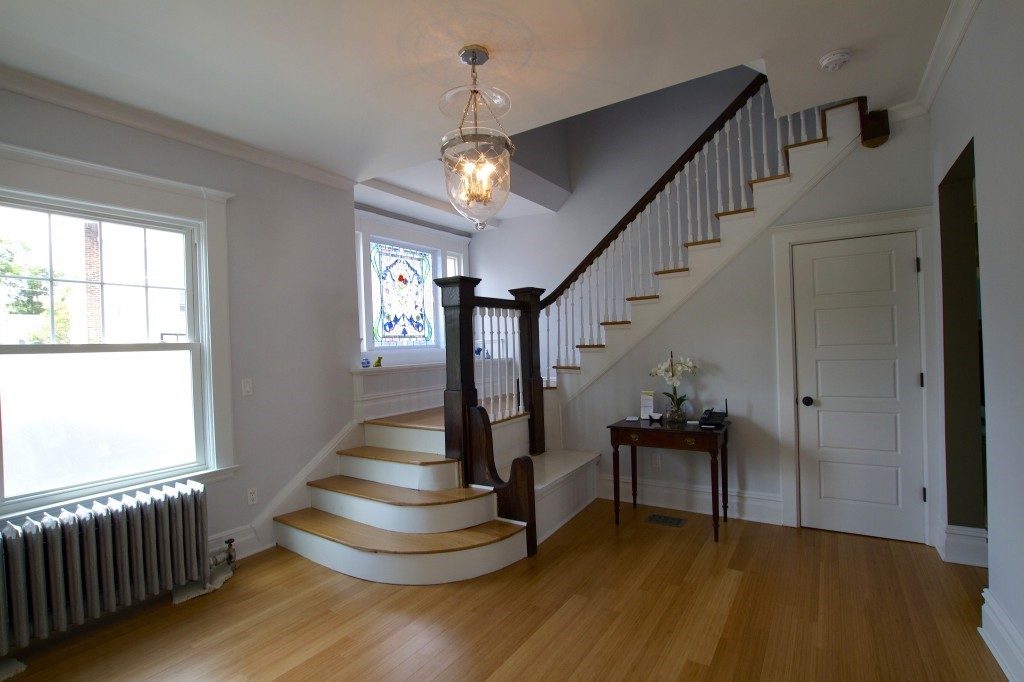
Voila! Here is the finished window and setting!
Here you see the new stained glass window fully inserted.
Since we put in all new windows throughout the house, we replaced the clear see-through side lites with frosted glass, again with the not so nice view in mind!
Here’s a shot from the front door, showing how nicely the “new” stained glass is now the focal point of the room! It brings in wonderful soft colors, is practical and adds value to the home.
One fun note….when we held the “Open House” for brokers, the original listing broker walked in and gushed at how happy she was that we “kept the stained glass”. That made us very, very happy indeed!

